Using and Creating Custom Skins
The server supports the ability to have custom materials located in GarrysMod/garrysmod/data/phcustomtextures applied to your first-person weapons. Previously it was allowed to use custom textures from a folder in the addons folder that overwrote the server’s workshop content. However, these applied to all weapons, not just your own viewmodel, and thus could be used to gain an advantage by making other weapons easier to see. Going forward only custom textures properly using the phcustomtextures directory will be allowed.
The following guide details how to use the new method for using custom textures and how to create your own custom textures.
@sneaky created a helpful video guide for creating custom textures using the old method of placing them in the addons folder. While this video is no longer 100% accurate, you may find it to be a useful reference since many of the steps in it are similar to what is covered here to use the new system.
How to Convert Existing Custom Skins to the New System
Step 1. Extracting the Server Content
First you will need to unpack the server content to get access to the textures and materials of the weapon you wish to modify.
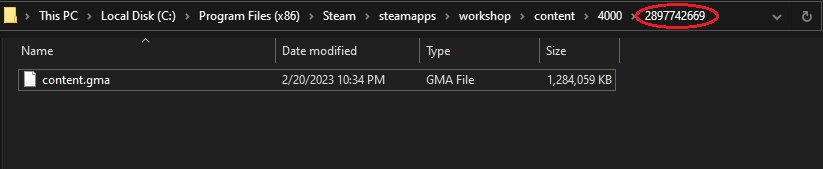
Start by opening explorer and navigating to “steamapps/workshop/content/4000” this is where workshop downloads are stored. The folders in this directory are named based on the workshop ids of the content they contain.
Workshop Folder

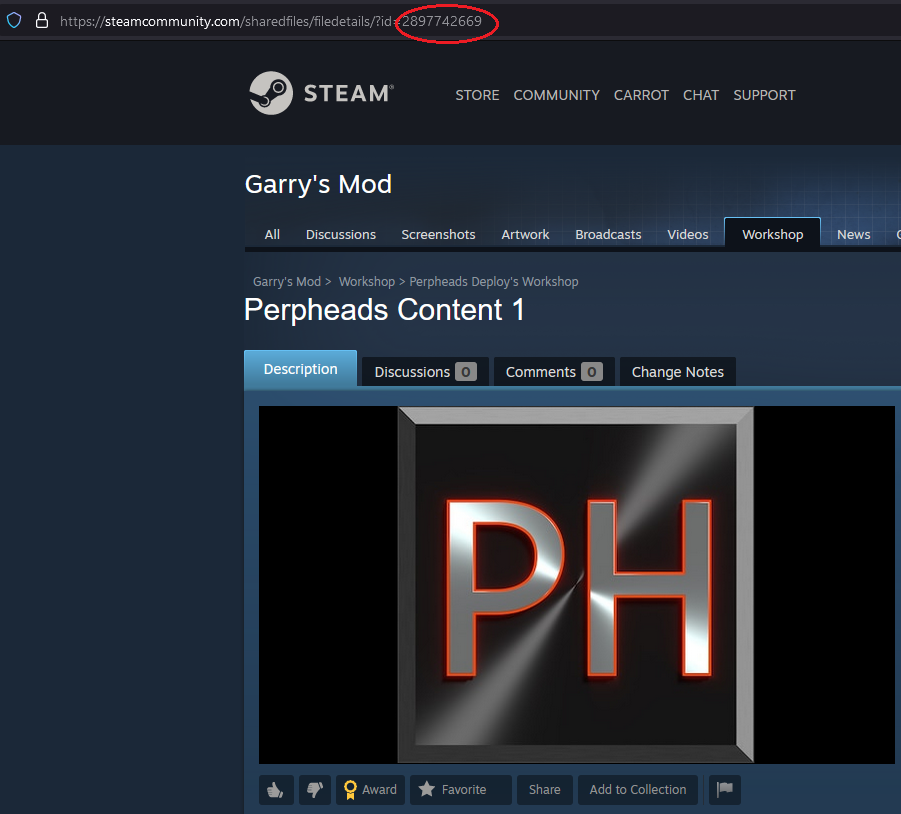
Next locate the folders which contain the content for the server. To do this, in your web browser, go to the workshop page of server content packs and note the id parameter in the URL (This is the collection containing all of the content). Currently, Perpheads Content 1 contains the materials for the guns on the server and it has id=2897742669, so open the folder with the same name in the workshop content folder. The folder should contain a file called “content.gma”, this is an archive which contains the server content.
Workshop Page
Content Folder
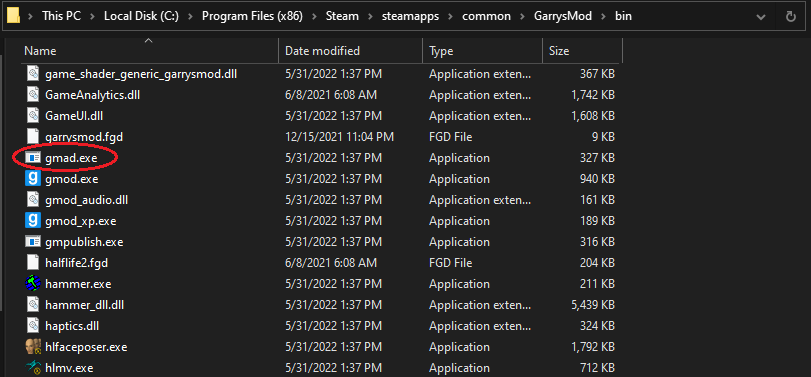
To unpack the content, open a new explorer window and navigate to the bin folder in your Garrysmod install (steamapps/common/GarrysMod/bin). Inside this folder, locate the file “gmad.exe”. This tool can be used to extract the contents of a .gma file. Drag the content.gma file from the workshop content folder in the other explorer window on top of gmad.exe. This will extract the content into a new folder in the workshop content folder.
Garrysmod/bin
Extracted Content

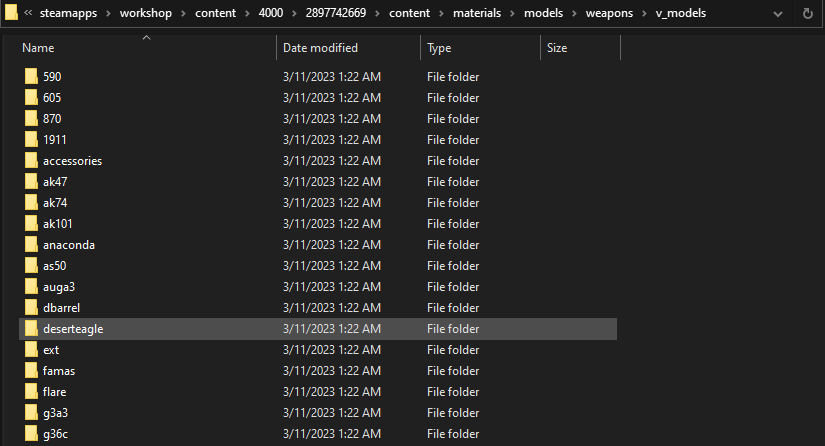
In the extracted content folder, navigate to “materials/models/weapons/v_models”. This folder contains the materials for the guns used on the server. If this folder does not exist in your extracted content, double check that you extracted the content from the correct folder.
It is possible that a different content pack contains the textures you wish to replace or the content pack which contains the gun textures has changed, in this case you will need to extract the content of the other content packs (located using their workshop ids) and find which one contains the textures.
v_models Folder
Inside these folders are textures (.vtf files) and materials (.vmt files). The .vmt files are the material files which specify what textures to use along with additional information that controls the appearance of the material. The .vtf files are the actual texture files and can be either normal, diffuse, textures or maps such as normal maps which make the models appear more detailed. The .vmt files specify the texture used with the $basetexture parameter.
Step 2. Setting Up the phcustomtextures And addons Folders
Now that we have the content extracted we need to set up the folders where we will put our custom materials and textures.
The materials (the .vmt files) will be loaded from the “phcustomtextures” folder in “GarrysMod/garrysmod/data” but the textures will be placed in a folder in the Garrysmod addons folder (Garrysmod/garrysmod/addons).
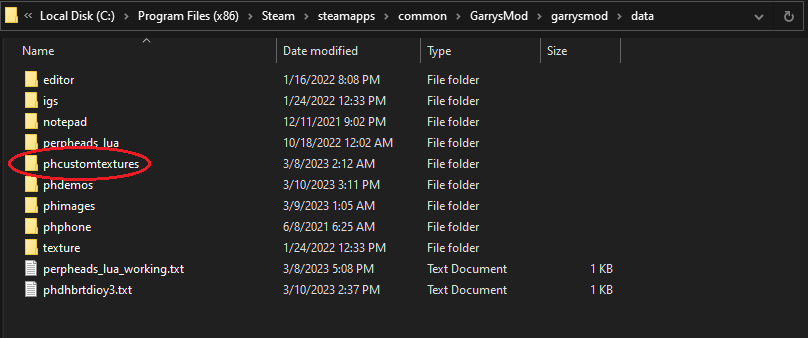
In another explorer window, navigate to the data directory in your Garrysmod install (steamapps/common/GarrysMod/garrysmod/data). In this folder create a new folder named “phcustomtextures”. We will put our custom materials in this folder.
Data Folder
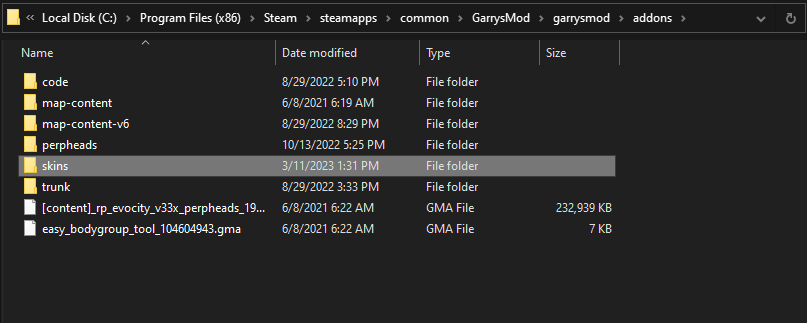
Additionally, we will need to create a folder in the Garrysmod addons folder that will hold our custom textures. Navigate to “steamapps/common/GarrysMod/garrysmod/addons” in a new explorer window and create a new folder called “skins”. This folder can technically be named anything you want, but will be referred to as “skins” from this point on..
Addons Folder
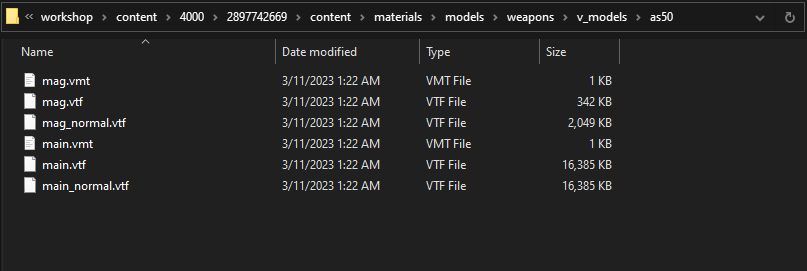
The path to the custom materials in the “phcustomtextures” folder will need to match that of the materials in the server content “materials” folder. For example, if we want to edit the materials of the AS50 (located at “content/materials/models/weapons/v_models/AS50”) we will need to place our custom materials in “phcustomtextures/models/weapons/v_models/AS50”.
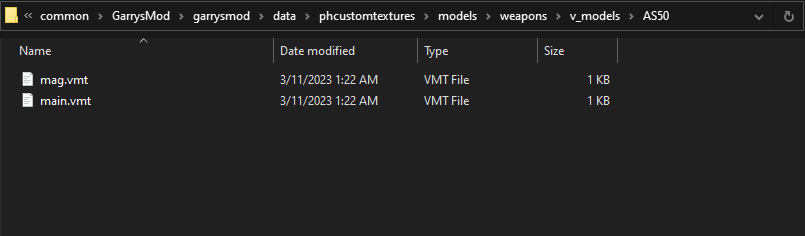
Create folders in “phcustomtextures” to match the folder structure of the weapon you want to make custom textures for and copy over the .vmt files from the extracted workshop content. When you are done the path from “phcustomtextures” to the .vmt files should be the same as the path from the “materials” folder to the .vmt files in the extracted workshop content.
AS50 Content Folder
AS50 phcustomtextures Folder
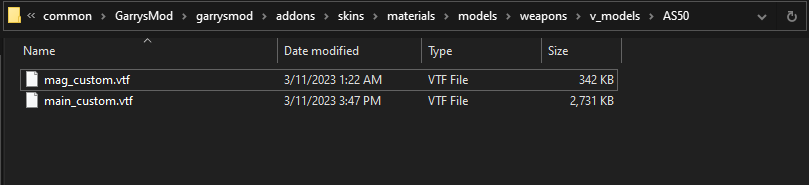
Now going back the to “skins” folder in addons, create the same directory structure as you did in “phcustomtextures” (e.g. if we made “phcustomtextures/models/weapons/v_models/AS50” we would make “skins/materials/models/weapons/v_models/AS50”). Finally, copy the .vtf files from the extracted server content to the folder you created in the “skins” folder and rename the copied .vtf files to something else (you can just add _custom to the filename). If you do not rename the .vtf files they will overwrite the workshop content in-game and cause weapons other than your first-person model to have your custom textures, this is not allowed.
Skins Folder
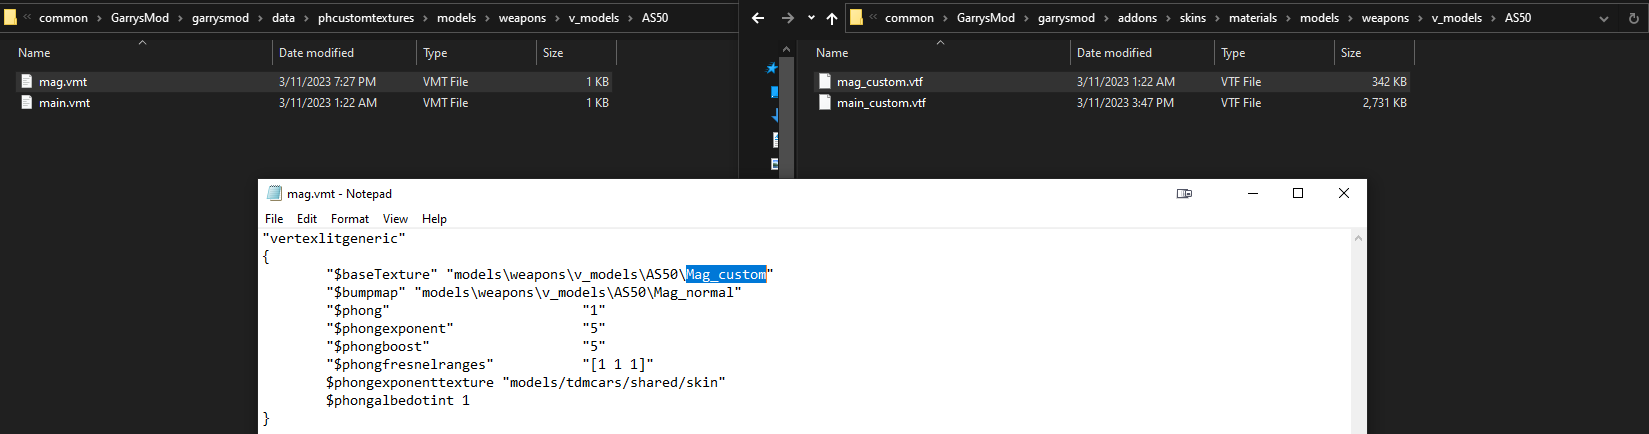
Finally, we need to edit the .vmt files in “phcustomtextures” to use our custom textures in the “skins” folder. Open the .vmt files in “phcustomtextures” by right clicking them and selecting open with then choosing notepad (you may need click show more applications in the open with dialog to find notepad). Edit the $basetexture parameter to use your custom textures (e.g. if we named our custom textures “main_custom.vtf” we would change the $basetexture from "models/weapons/v_models/AS50/Mag" to "models/weapons/v_models/AS50/Mag_custom").
Edited .vmt File
Step 3. Creating Your Custom Textures
Since the textures are stored in .vtf files, we cannot immediately use normal image editing programs to edit them and will need to convert them to a suitable format then convert the edited image back into a .vtf.
Download VTFEdit and either install it or extract the archive somewhere. VTFEdit is a tool for working with .vtf files and can be used to convert them to other image formats and convert images to .vtf files.
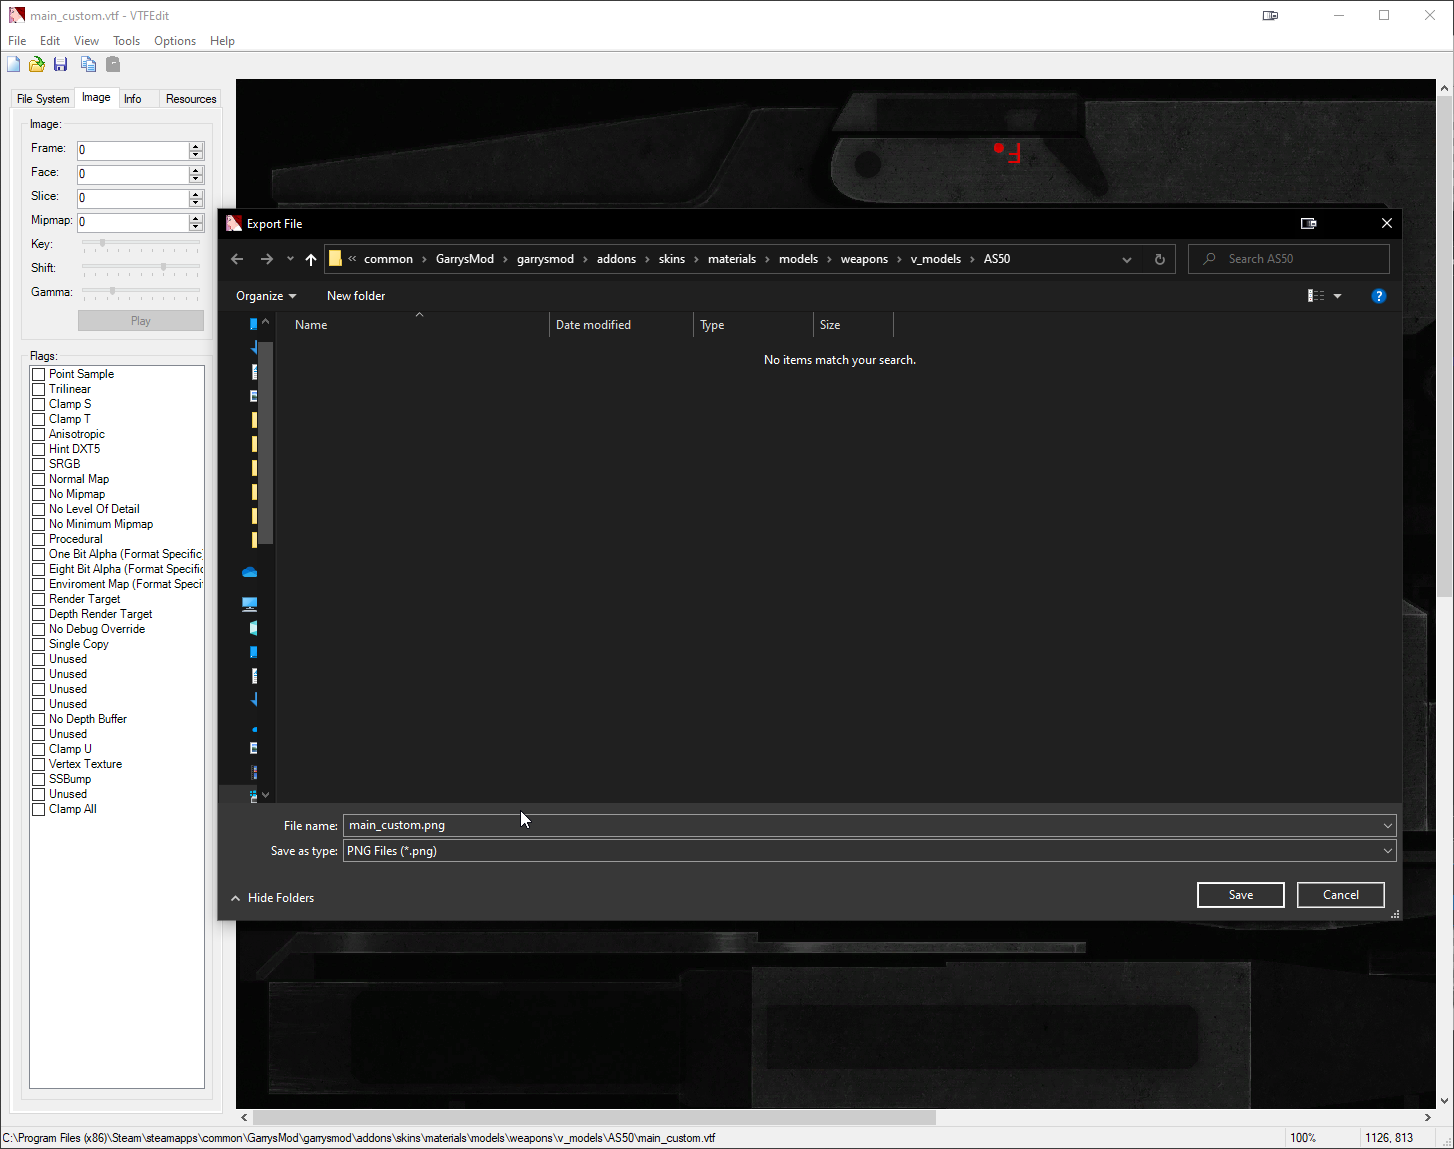
Open VTFEdit and open the .vtf file you want to modify by going to file->open and navigating to the file in the “skins” folder. Export the texture as a .png file (or whatever format you want) by going to file->export and save it somewhere. You now have a file that can be opened in a normal image editing program.
Exporting
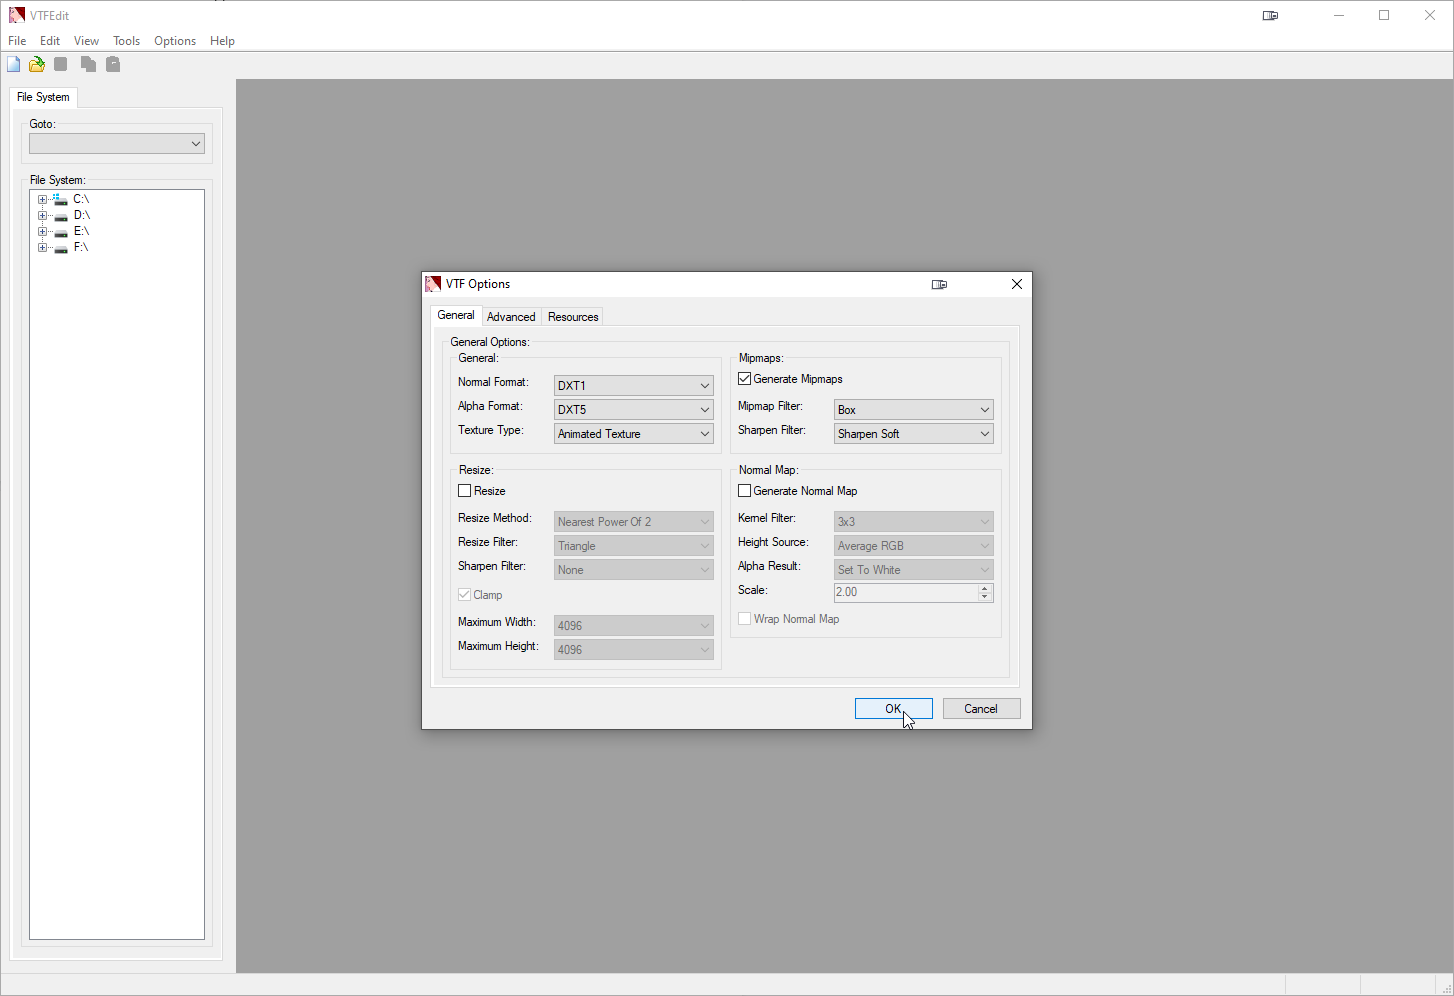
When you are done editing the texture, save it as a .tga file somewhere. Open VTFEdit again and import the .tga file you made by going to file->import. A dialog window will open with a bunch of options, you can just leave these at their defaults and click OK in most cases. Save the imported texture as a .vtf by going to file->save as, it will need to be named the same as the original .vtf you edited. Put the saved .vtf in the same folder as the original .vtf you edited in “skins”, backing up the original .vtf before you replace it if you wish to.
Importing
Imported Texture
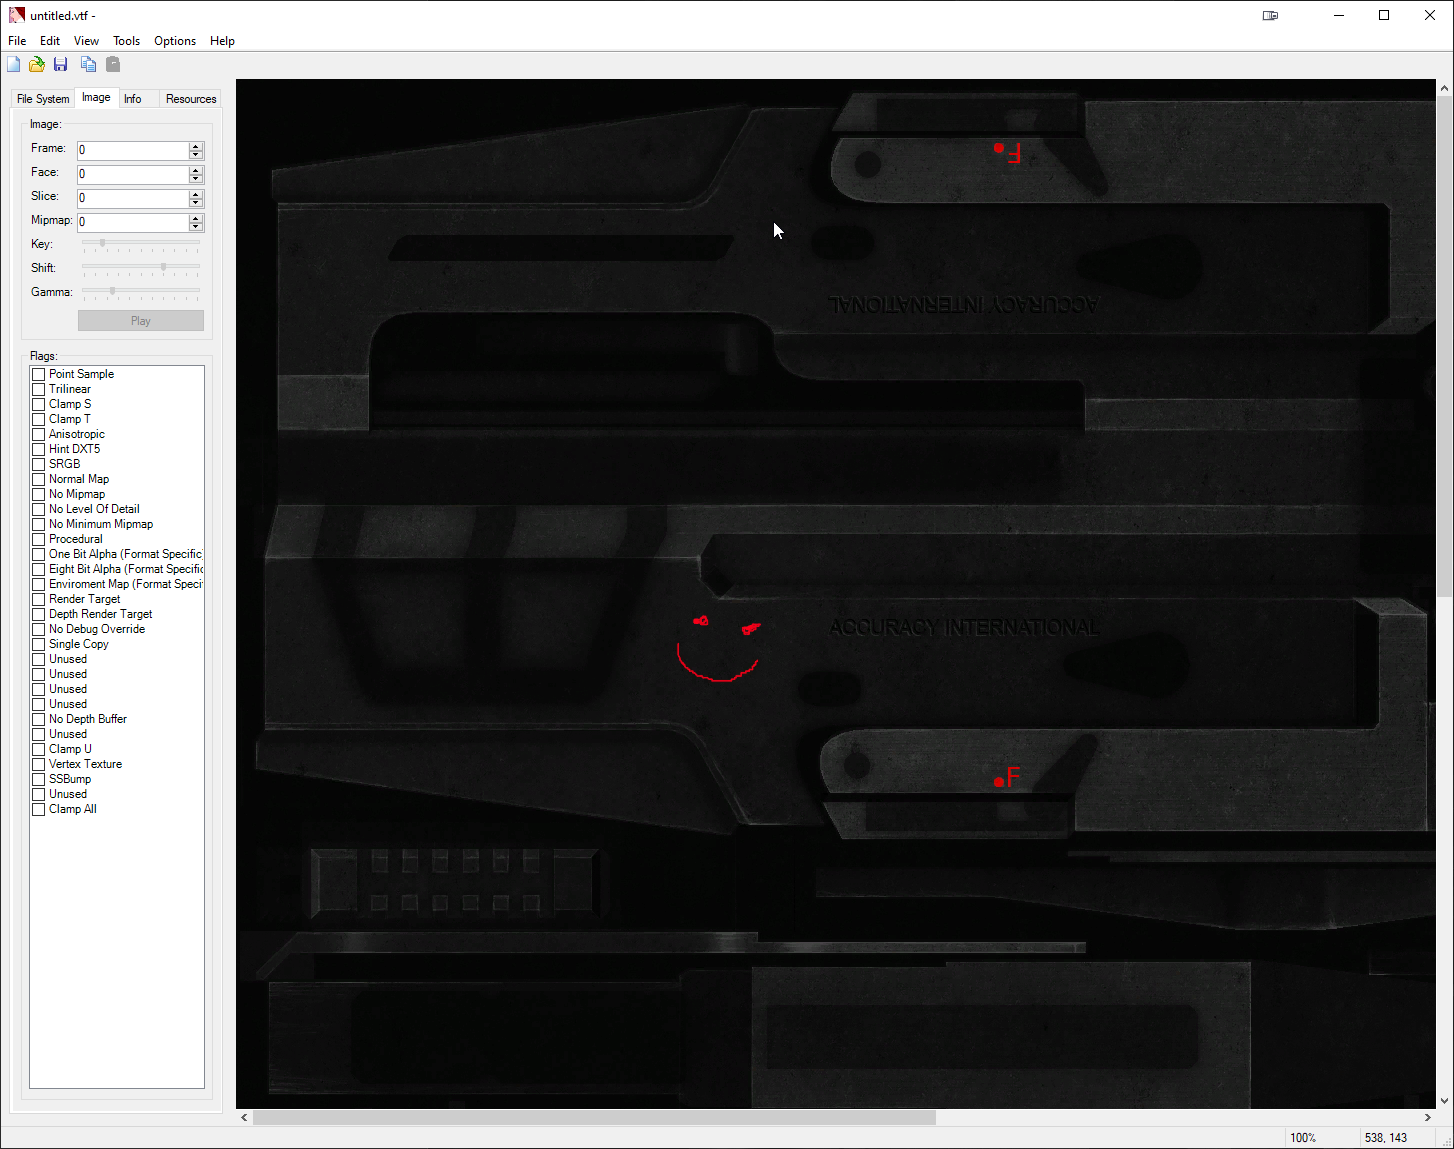
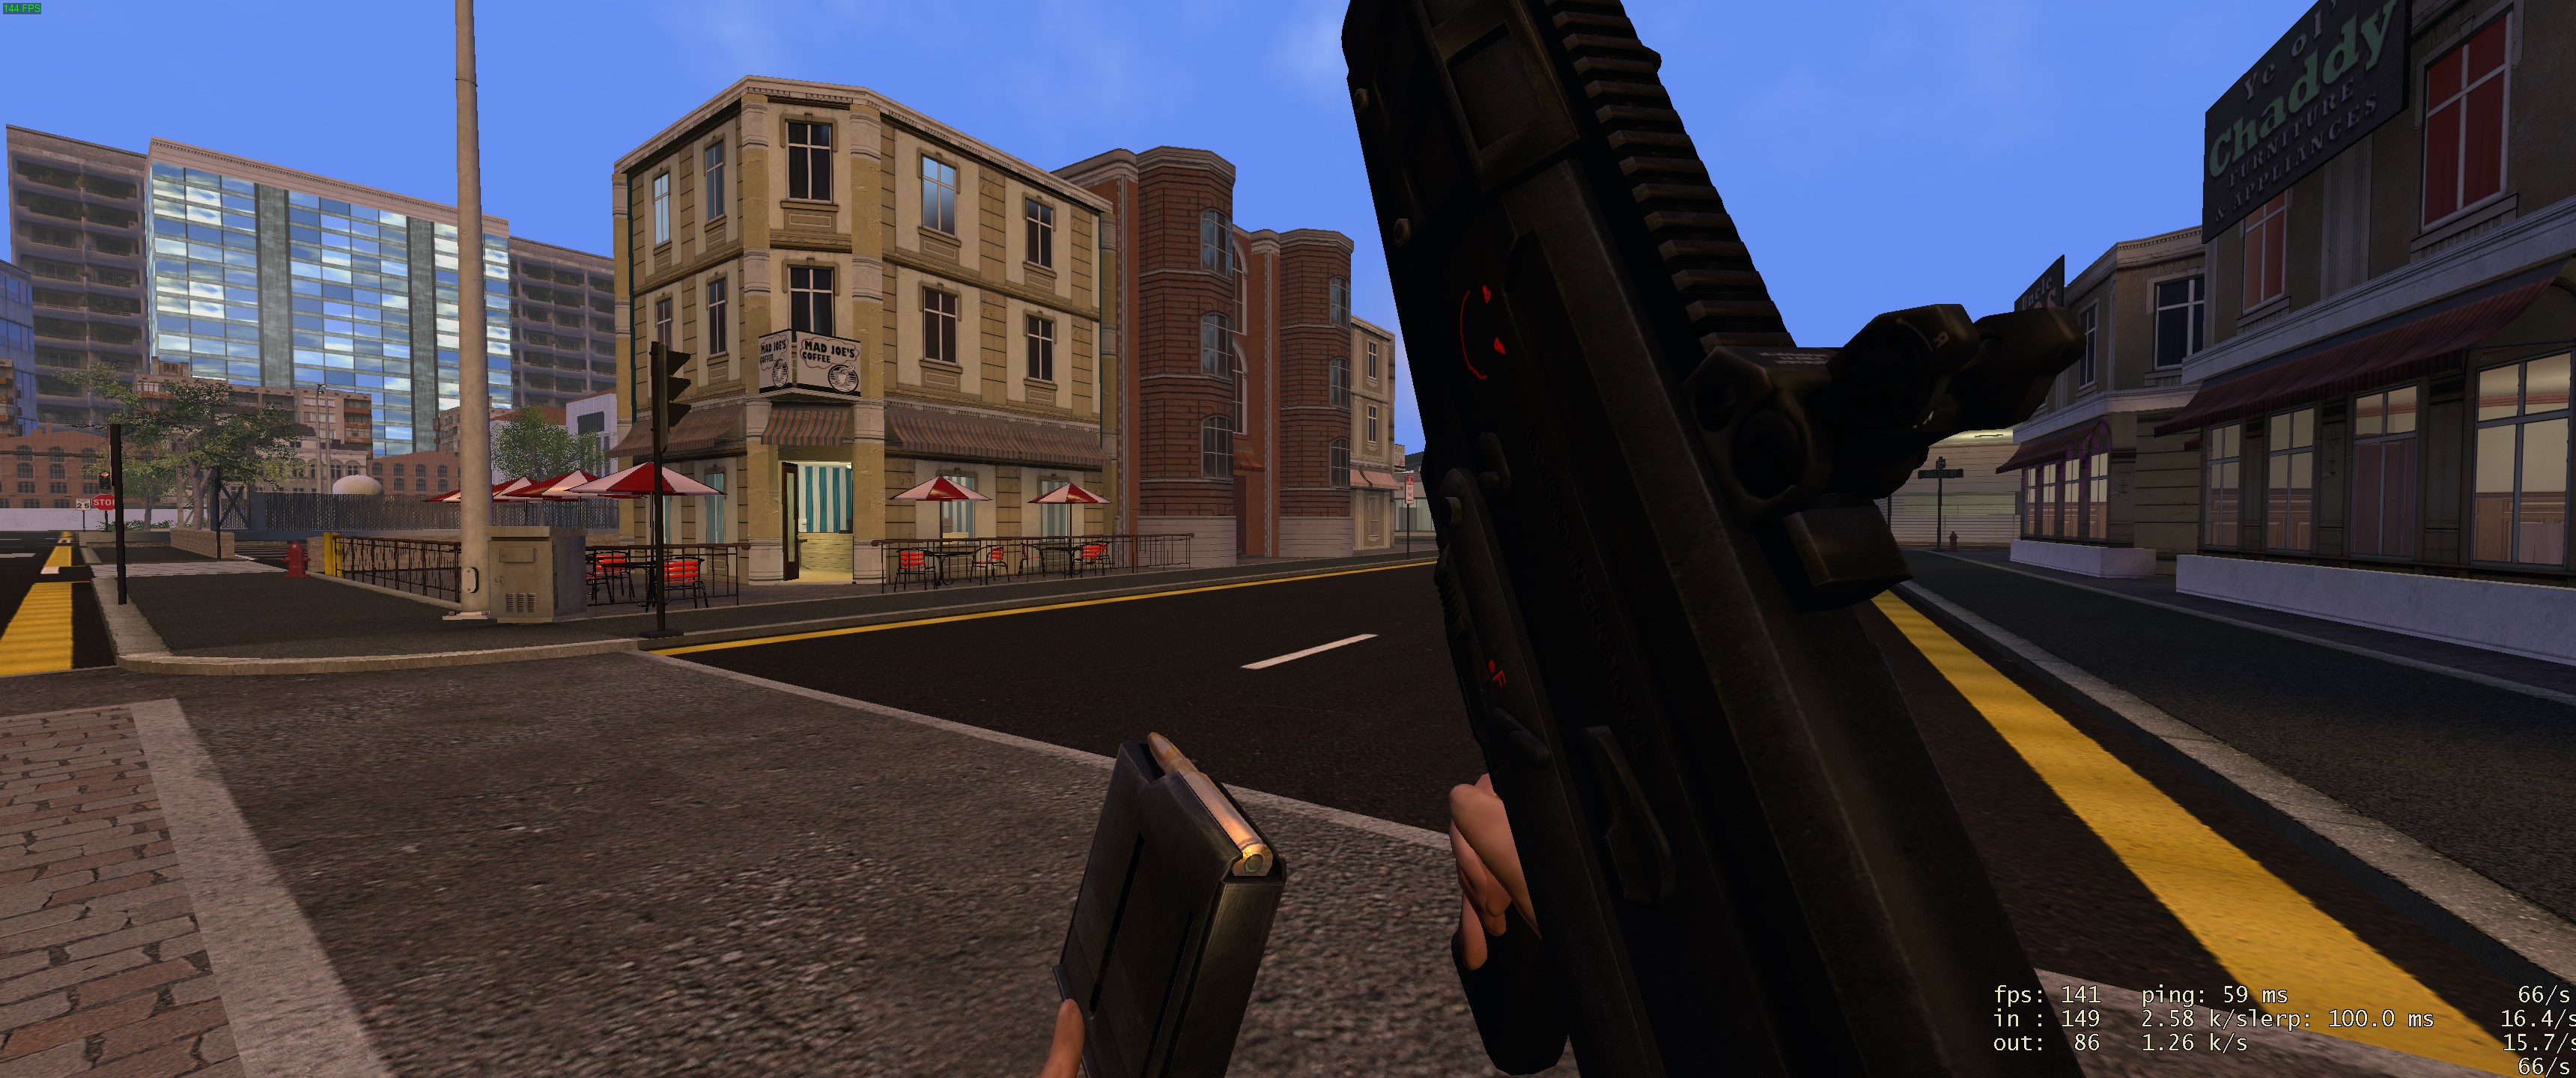
You should now be able to go in-game and view your custom texture.
Modified Texture Ingame
Final phcustomtextures and skins folders for reference.
^ All credits go to @carrot & @dank for creating this guide. ^
Designing Your Custom Texture
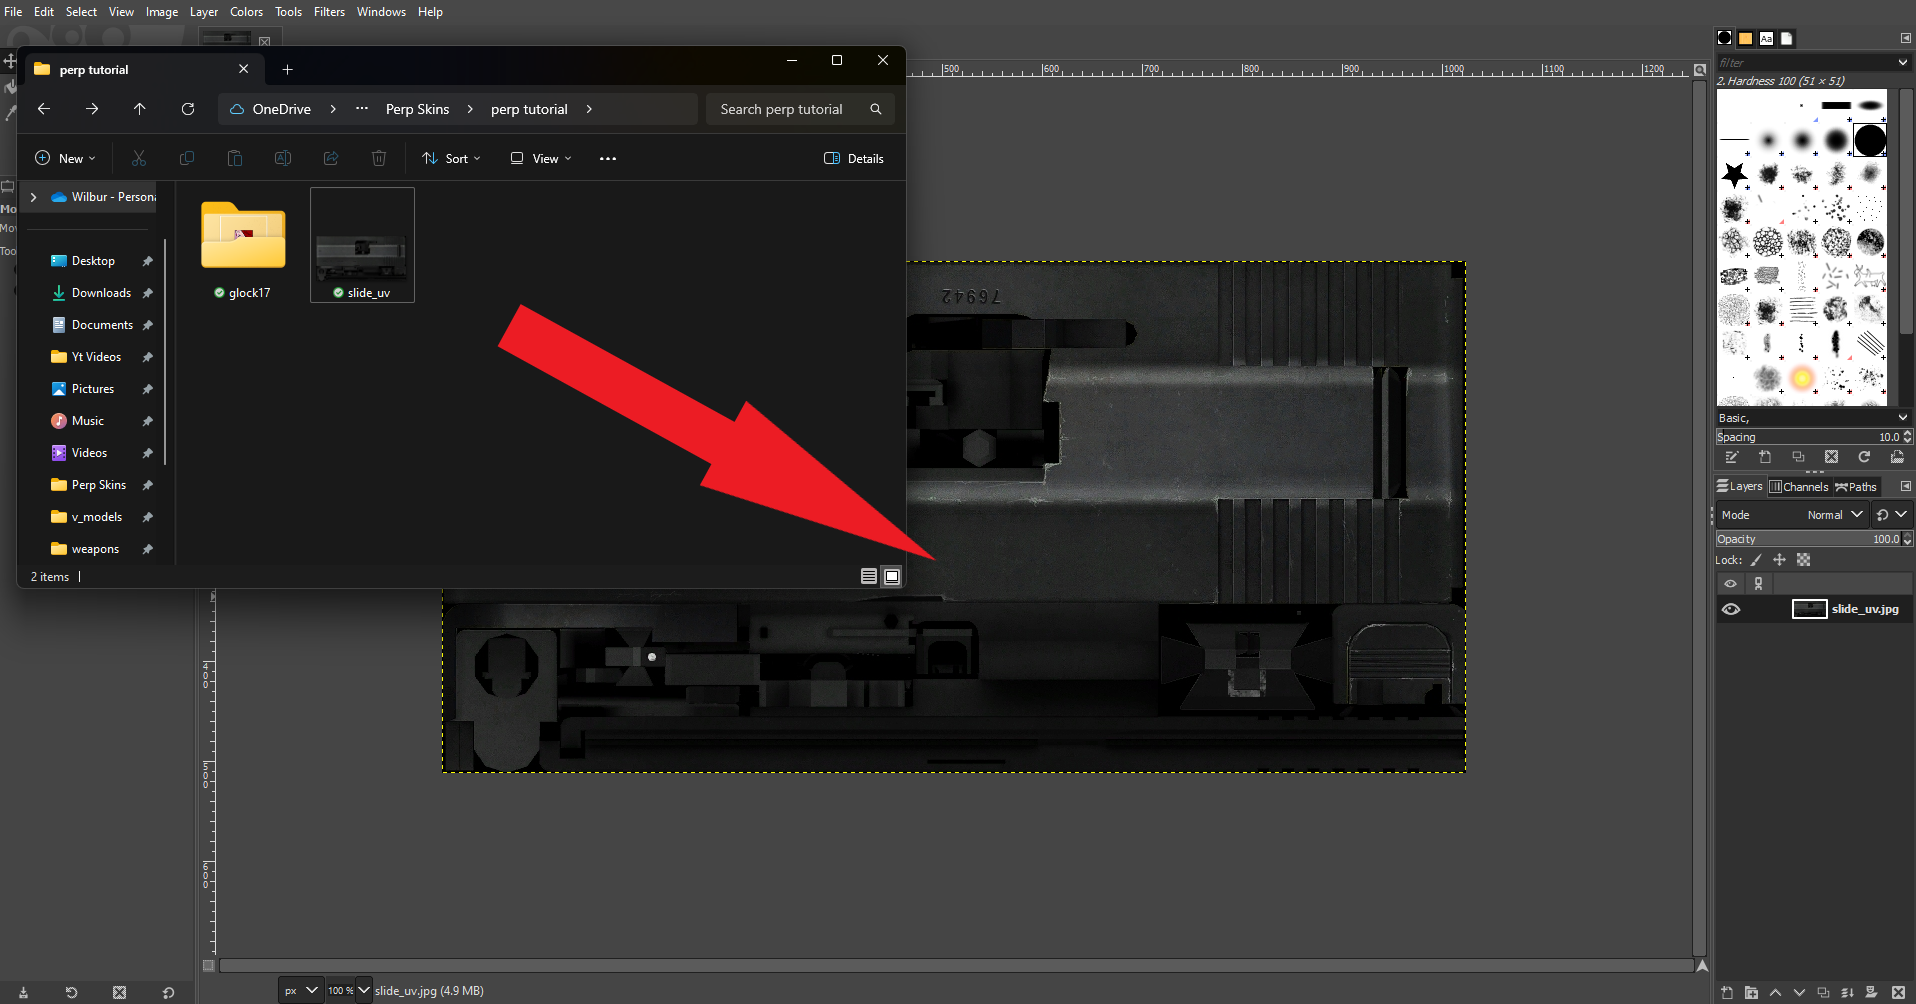
Firstly, you will need an application to design your texture. For the accessibility of this guide I will use GIMP, a free software, however there are many other working softwares such as: photopea, photoshop and more. Once you have exported the VTF of the weapon you are going to design (as a JPEG), you will need to import it into the software by dragging it onto the blank canvas.
Drag The JPEG Onto The Canvas
Now, you will need to customize it. At this point you can do whatever you please: add patterns, add stickers or even add text, but remember, each part of the texture relates to a part of the gun, except for most of the pure black areas which are just fillers.
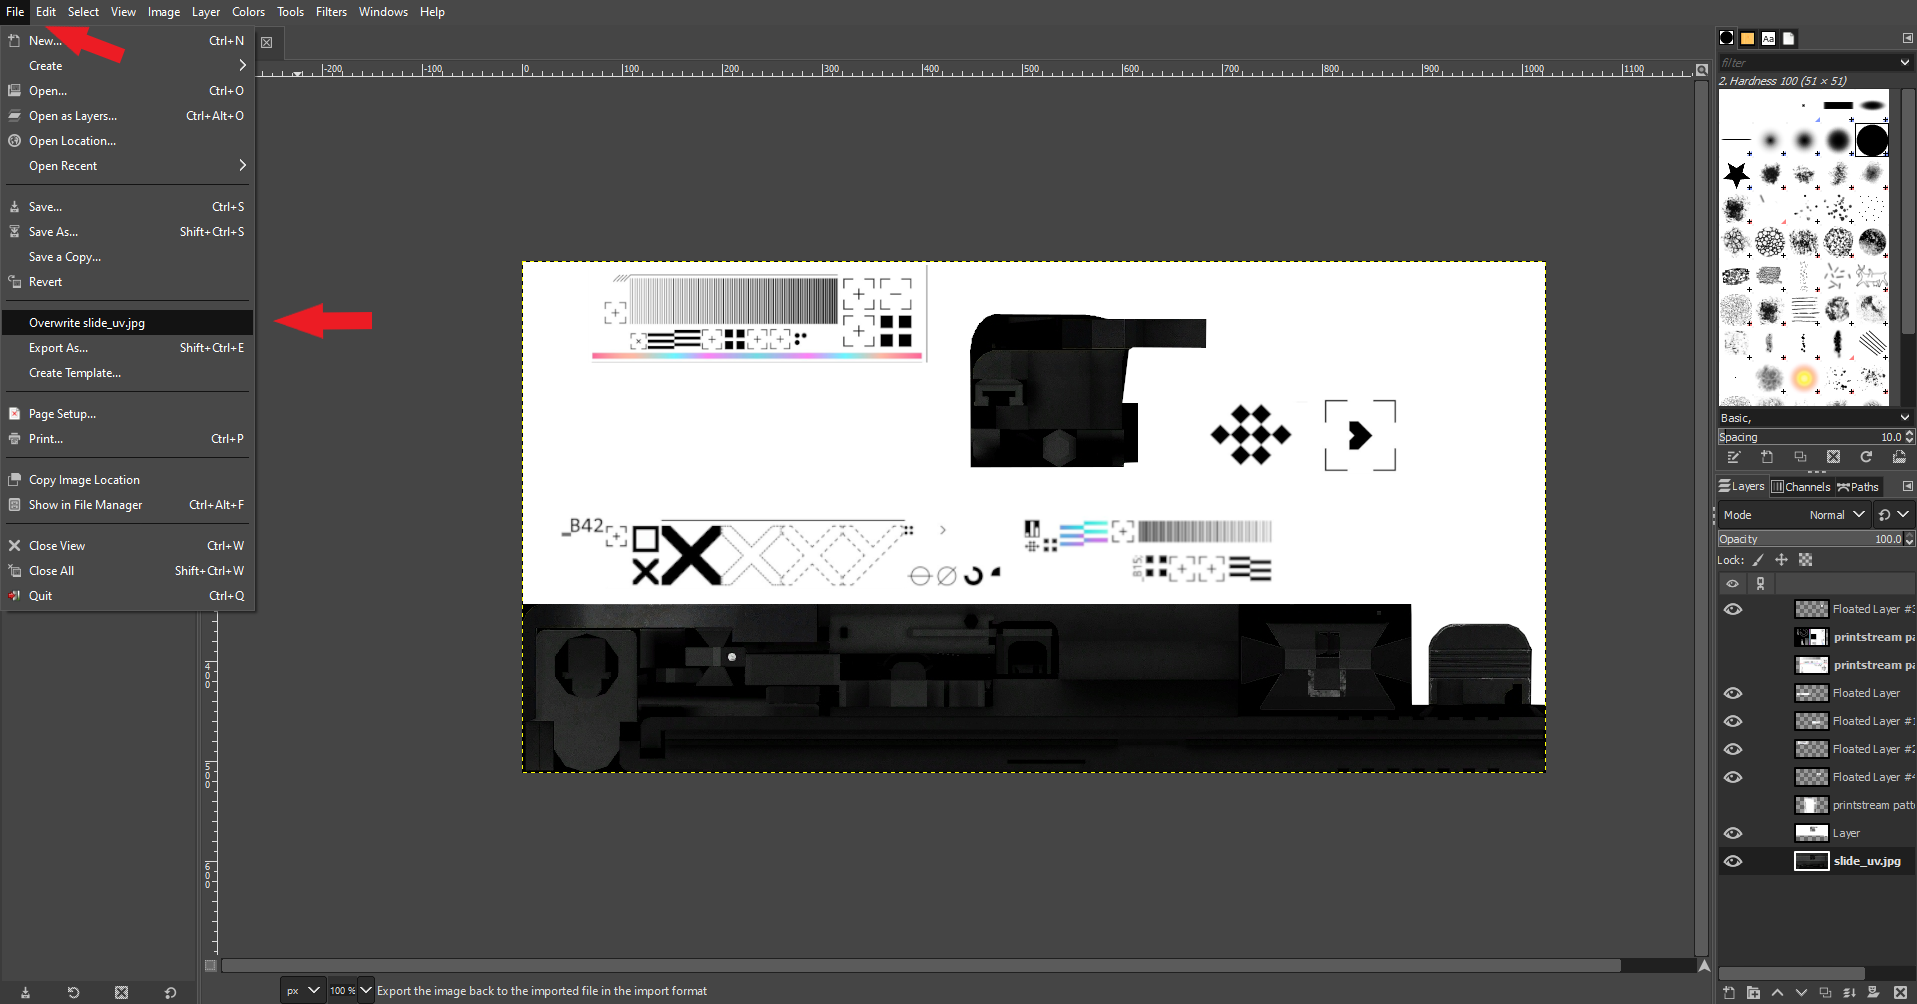
Once you have your customized skin, you will need to export it. To do so you will need to click File > Overwrite (JPEG Name).jpg and then click export without changing any of the options. Now your original JPEG will have been updated to your custom texture, so you can now import this back into the VTF file as shown earlier in the guide.
Exporting Custom Texture
Obtaining Custom CS:GO/CS2 Textures
Many individuals in the community tend to recreate Counter Strike skins because they are easy and stylish to recreate, so if you would like to here is how to get the textures from Counter Strike:Global Offensive and Counter Strike 2 skins.
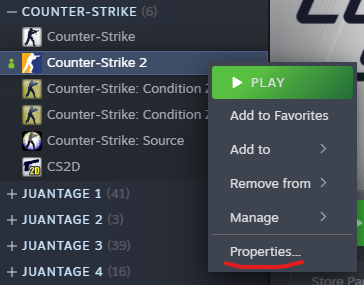
You will need to start off by downloading a software called Source 2 Viewer and CS2. Once you have downloaded CS2, right click on it in your library then go to Properties > Betas and select csgo_legacy under Beta Participation.
Accessing The Properties Page
Next, you will need to open Source 2 Viewer. Once open, on the explore page click the arrow to expand the file labeled ‘Counter Strike 2’. From here you can either access CS:GO skins or CS2 skins.
For CS:GO skins:
csgo/pak01_dir.vpk > materials > models > weapons > customization > paints > custom
A few skins will be here, but to access the rest open the ‘workshop’ file.
For CS2 skins:
game/csgo/pak01_dir.vpk > items > assets > paintkits
From here, any CS2 Case skins will be in their own file under the ‘community’ file and the rest will be located under the other files.
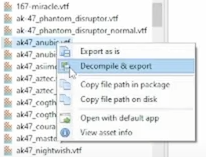
Exporting The Skin
To save the file of your choice, right click on it, then click Decompile & export. For the CS:GO skins you will have a VTF file where you can open it and export the image. However, for the CS2 skins you will get it as a PNG straight away after decompiling and exporting.
Saving The Image
Note: CS:GO and CS2 textures are not identical to PERPHeads weapon textures, so in GIMP or your software of choice, you will need to cut out the parts of the skin you want and overlay them on the part of the PERPHeads weapon skin you want it to be at.
Actions:
Details:
Version: 2
Created On: Sept. 15, 2023, 8:49 p.m.
Created By: Goonsberg
Authors: Goonsberg, JuanBonita
Views: 4k